To troubleshoot a Dexter dryer, check for power issues and clean the lint filter. Dexter dryers commonly experience problems due to power and lint issues.
Dexter dryers require consistent power and regular lint filter cleaning for optimal performance. If you encounter any issues with your Dexter dryer, follow these troubleshooting steps to identify and resolve the problem effectively.

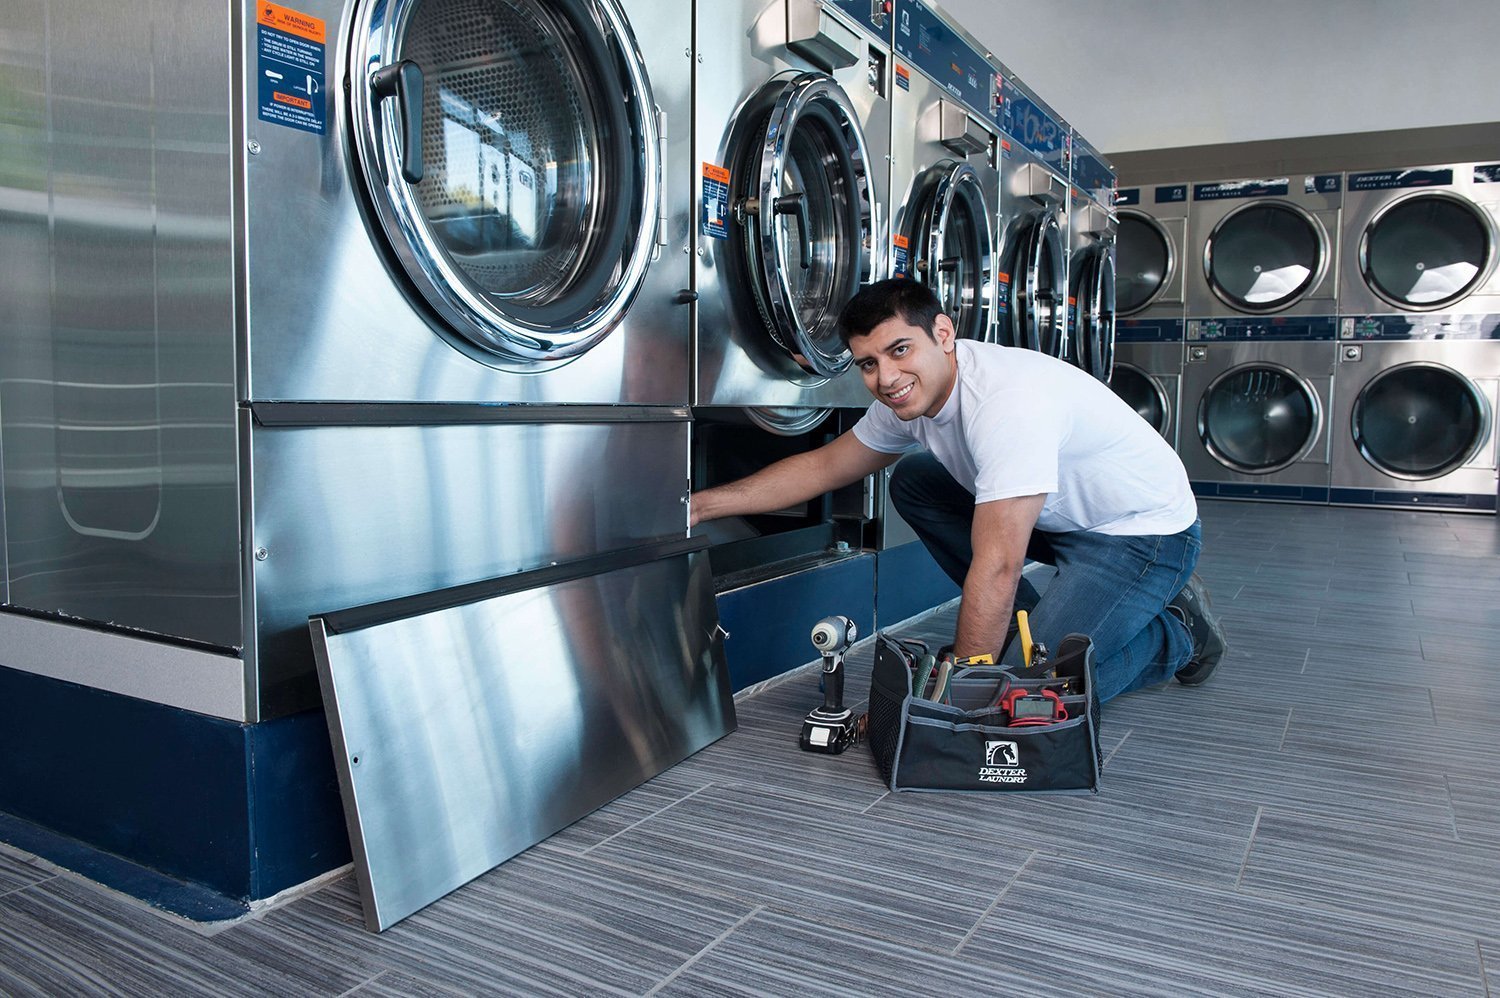
Credit: machinesolved.com
Understanding Dexter Dryer Issues
Identifying common problems with Dexter dryers and understanding their impact on laundry operations is crucial for maintaining a smooth and efficient laundry facility. By pinpointing and addressing these issues promptly, you can keep your Dexter dryers in optimal working condition and ensure the seamless operation of your laundry business.
Common Problems With Dexter Dryers
When it comes to Dexter dryer troubleshooting, various issues may arise that can disrupt the drying process. Here are some common problems to watch out for:
- Inadequate heating
- Excessive noise or vibration during operation
- Inconsistent drying times
- Failure to start or power on
- Poor air circulation
To address these issues effectively, it’s essential to conduct thorough inspections and perform routine maintenance on Dexter dryers to prevent potential malfunctions.
Impact Of Faulty Dryer On Laundry Operations
A malfunctioning or faulty Dexter dryer can have a significant impact on laundry operations, causing delays and potential dissatisfaction among customers. The consequences of a faulty dryer include:
- Reduced drying capacity, leading to longer turnaround times for customers
- Potential damage to laundry items due to inadequate drying temperatures
- Disruptions in overall workflow, affecting the efficiency of the laundry facility
- Potential loss of revenue and customer trust
To mitigate these impacts, it’s essential to promptly address any issues with Dexter dryers and prioritize their maintenance to uphold the quality and efficiency of laundry operations.
Checking For Power And Connectivity Issues
One of the most common causes of Dexter dryer malfunctions is power supply and connectivity issues. Before delving into complex troubleshooting, it’s crucial to perform initial checks to ensure that the dryer is receiving adequate power and all connections are secure. This guide will walk you through the essential steps in diagnosing and resolving power and connectivity issues with your Dexter dryer.
Power Supply Inspection
Start your troubleshooting process by examining the power supply to the dryer. Ensure that the power cord is firmly plugged into a functioning outlet. Use a multimeter to test the outlet’s voltage and confirm that it meets the manufacturer’s specifications. If the outlet is not delivering the correct voltage, consult a qualified electrician to address the electrical supply concerns. Additionally, check for tripped circuit breakers or blown fuses in the electrical panel that may be affecting the dryer’s power.
Checking The Dryer Connections
Inspect all the connections of the dryer, including the power cord, door switch, and the thermal fuse. Ensure that each connection is secure and free from corrosion or damage. Any loose or damaged connections can hinder the proper operation of the dryer. Use the user manual as a reference to locate and inspect each essential connection. If any issues are identified, re-secure or replace the connections as needed to restore proper functionality to the dryer.
Furthermore, verify that the dryer is receiving adequate airflow by checking the ventilation system for any obstructions or blockages. Proper airflow is essential for the efficient operation of the dryer and can directly impact its performance.
By carrying out these preliminary power and connectivity checks, you can effectively identify and address potential issues with your Dexter dryer. In the event that the problem persists despite these measures, consider seeking assistance from a professional technician familiar with Dexter dryers.
Addressing Heating And Drying Problems
Understanding Heating Elements
When it comes to Dexter dryer troubleshooting, understanding the heating elements is crucial. The heating element is responsible for providing the heat needed to dry clothes efficiently. Over time, the heating element may wear down or malfunction, leading to subpar drying performance. By familiarizing yourself with how the heating elements function, you can effectively troubleshoot and address any issues that may arise.
Troubleshooting Uneven Drying Issues
Uneven drying issues can be frustrating and result in damp or overheated clothes. To effectively troubleshoot these problems, it’s important to consider various factors that may be contributing to the issue. From airflow obstructions to temperature settings, identifying the root cause of uneven drying can help in efficiently resolving the problem and restoring optimal dryer performance.
By understanding heating elements and effectively troubleshooting uneven drying issues, you can ensure that your Dexter dryer operates at peak efficiency, delivering consistently outstanding results.
Examining Mechanical And Operational Faults
Examining Mechanical and Operational Faults in your Dexter Dryer is crucial to maintaining its efficiency and longevity. By identifying issues and addressing them promptly, you can ensure that your dryer operates at its best. In this section, we will explore how to check for worn-out parts and resolve operational malfunctions in your Dexter Dryer.
Checking For Worn-out Parts
If your Dexter Dryer is exhibiting mechanical problems, it’s essential to inspect for worn-out parts. Here are some key components to check for signs of wear and tear:
- Belt: Check for fraying, cracks, or elongation. A damaged belt can lead to operational issues.
- Rollers and bearings: Look for excessive noise, wobbling, or difficulty rotating, indicating potential wear.
- Motor and pulleys: Check for unusual sounds, excessive heat, or signs of wear on the motor and pulley components.
- Seals and gaskets: Inspect for leaks, tears, or deterioration that could impact the dryer’s performance.
Resolving Dryer Operational Malfunctions
When addressing operational malfunctions in your Dexter Dryer, it’s important to diagnose the underlying causes and take appropriate action. Here are some steps to effectively resolve operational faults:
- Clean the lint filter and exhaust duct regularly to prevent airflow restrictions and overheating.
- Inspect and clean the dryer vent to ensure proper ventilation and prevent potential fire hazards.
- Check the thermostat and heating elements for continuity and proper functionality.
- Verify that the electrical connections are secure and free from corrosion to maintain optimal power supply.
By examining mechanical and operational faults in your Dexter Dryer, you can proactively address potential issues and sustain its performance. Regular maintenance and timely troubleshooting can enhance the efficiency and durability of your dryer, ensuring smooth operation and satisfactory results.
Maintenance Tips And Preventive Measures For Dexter Dryers
Maintenance tips and preventive measures for Dexter dryers are crucial to ensure their optimal performance and longevity. Regular upkeep and strategic preventive maintenance can help identify and address any issues before they escalate into costly problems. By implementing a preventive maintenance schedule and adhering to regular cleaning and upkeep practices, you can extend the lifespan of your Dexter dryers, reducing the need for frequent repairs and minimizing downtime.
Regular Cleaning And Upkeep
Regular cleaning and upkeep are essential for maintaining the efficiency and functionality of Dexter dryers. By following a routine cleaning schedule, you can prevent the accumulation of lint, dust, and debris, which can obstruct airflow and hinder the dryer’s performance. Cleaning the lint trap after each use and periodically vacuuming the exhaust vents can mitigate potential hazards and maintain the dryer’s efficiency.
Implementing Preventive Maintenance Schedule
Implementing a preventive maintenance schedule is a proactive approach to ensuring the smooth operation of Dexter dryers. Creating a maintenance calendar that includes tasks such as lubricating moving parts, inspecting belts and hoses for wear and tear, and checking for proper ventilation can help identify potential issues early on, preventing major breakdowns and costly repairs. Following a structured preventive maintenance schedule can also contribute to minimizing energy consumption and extending the service life of the dryers.
Frequently Asked Questions On Dexter Dryer Troubleshooting
How To Troubleshoot A Dexter Dryer That Won’t Start?
To troubleshoot a Dexter dryer that won’t start, first check the power source and ensure it’s functioning. Then examine the door switch and thermal fuse for any issues. If these components are in working order, it may be a problem with the drive motor or control board.
What To Do If My Dexter Dryer Is Producing No Heat?
If your Dexter dryer is producing no heat, start by checking the heating element and high limit thermostat for continuity. Ensure the exhaust vent is not clogged and the airflow is unrestricted. Additionally, inspect the cycling thermostat and gas valve coils for any malfunctions.
How To Fix A Dexter Dryer That Is Making Loud Noises?
If your Dexter dryer is making loud noises, it could be due to a worn-out drum bearing or roller. Check these components for wear and tear, and replace them if necessary. Additionally, inspect the blower wheel for any obstructions or damage that may be causing the noise.
Why Is My Dexter Dryer Not Drying Clothes Properly?
If your Dexter dryer is not drying clothes properly, begin by cleaning the lint trap and exhaust vent to ensure proper airflow. Check the heating element for continuity and the moisture sensor for any defects. It’s also important to verify that the dryer is not overloaded with clothes.
Conclusion
Troubleshooting your Dexter Dryer can be easier than you think. By following the simple guidelines and tips provided in this blog post, you can quickly identify and fix common issues. Taking care of your dryer’s maintenance and repairs will ensure its longevity and efficient performance.
Stay tuned for more helpful maintenance tips!