To troubleshoot the Ge Washer Gfw450Ssm1Ww, follow these steps: check for power supply issues, inspect the water inlet valve, examine the drain pump and hose, test the door latch, and reset the control board if necessary. Having a reliable washing machine is essential for any household, but when it starts experiencing issues, it can be frustrating.
The Ge Washer Gfw450Ssm1Ww is a popular model that offers efficient and effective washing. However, like any appliance, it may encounter problems that require troubleshooting. By following a few simple steps, you can quickly identify and resolve common issues with this particular washer.
We will provide you with a concise and informative guide to troubleshooting the Ge Washer Gfw450Ssm1Ww, helping you get your laundry routine back on track.
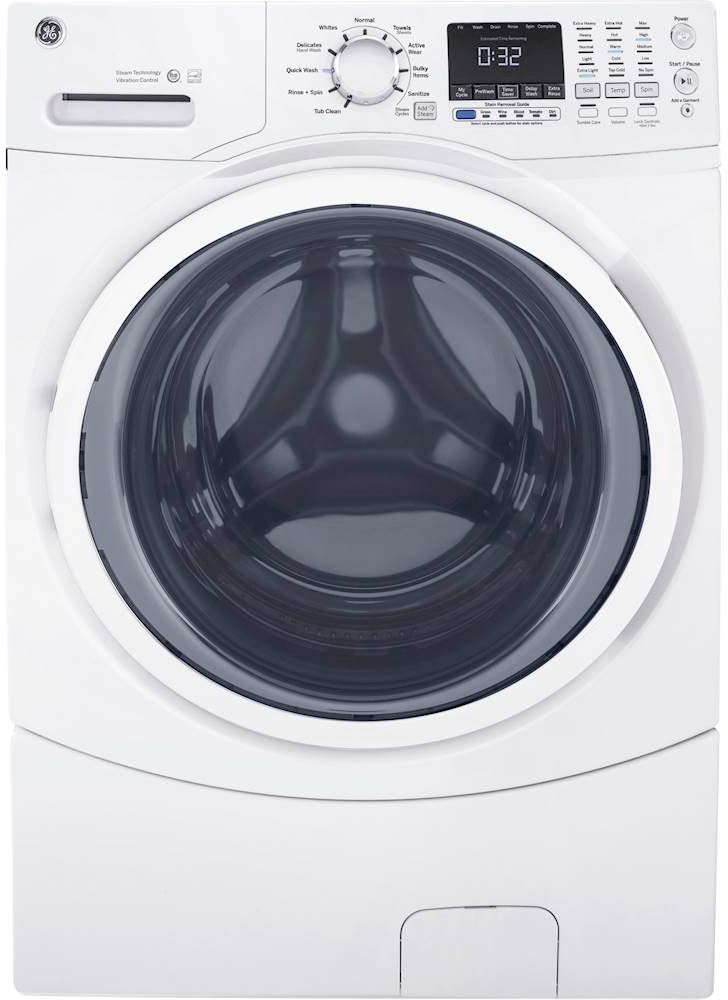
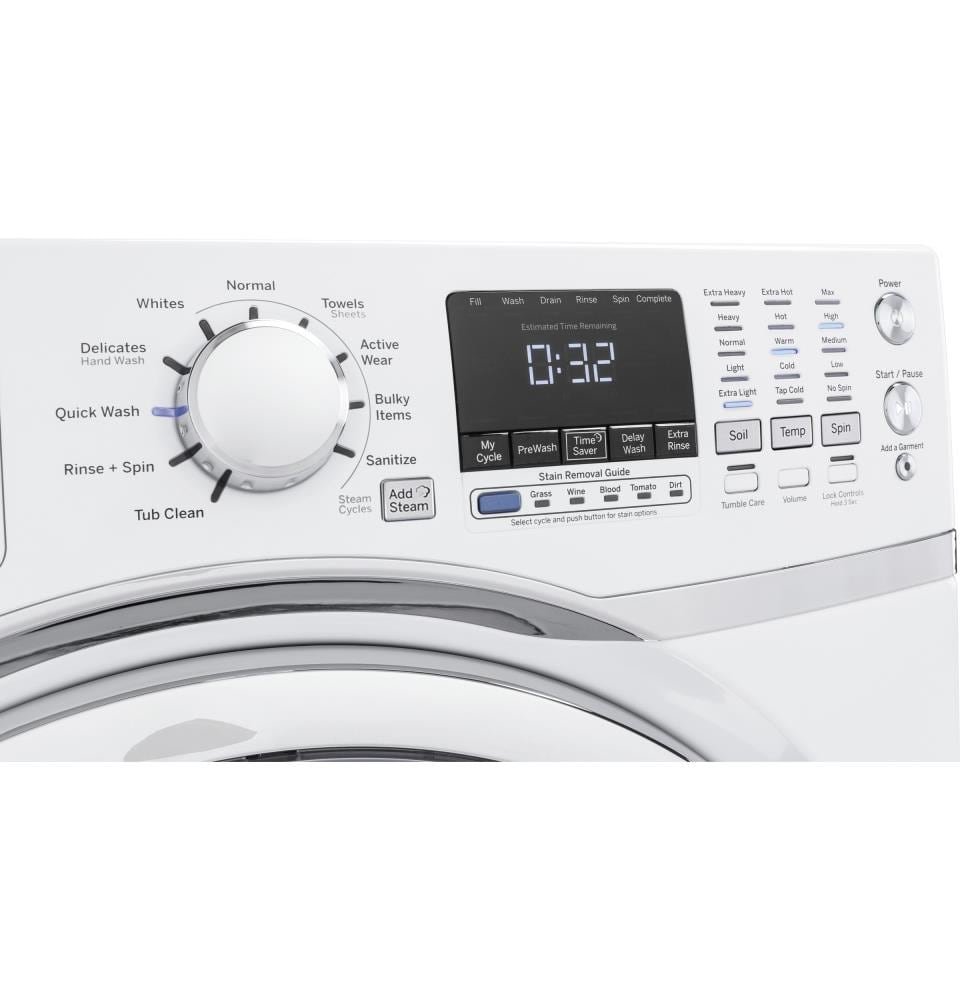
Credit: www.bestbuy.com
Common Issues
If you’re facing issues with your GE washer model GFW450SSM1WW, troubleshooting can be helpful. Resolve common problems like leaks, noisy operation, or the machine not starting by following simple troubleshooting steps.
Error Codes
One of the frustrating things that can happen with your GE Washer Gfw450Ssm1Ww is seeing an error code pop up on the display. Error codes can be confusing, but they actually provide valuable information about what might be going wrong with your washer. Here are some common error codes you might encounter and what they mean:
| Error Code | Description |
|---|---|
| E01 | This code indicates a door lock error. It means that the washer is not able to lock the door properly, which can prevent the cycle from starting. |
| E02 | This code points to a drain pump error. It suggests that there might be a problem with the drain pump, such as a clog or a malfunction, causing the machine to fail in draining the water. |
| E03 | This code signifies that there is a motor control board error. It indicates an issue with the motor control board, which is responsible for controlling the washer’s motor and ensuring it operates correctly. |
No Power
If your GE Washer Gfw450Ssm1Ww is completely unresponsive and shows no signs of power, it can be quite frustrating. Here are a few things you can check to troubleshoot the issue:
- Make sure the washer is securely plugged into a functional power outlet.
- Check the circuit breaker or fuse box to ensure that the breaker hasn’t tripped or the fuse hasn’t blown.
- Inspect the power cord for any visible damage, such as frayed wires or loose connections.
- Try plugging in another electronic device into the same outlet to determine if the problem lies with the washer or the power source.
Drainage Problems
If you’re experiencing drainage problems with your GE Washer Gfw450Ssm1Ww, where the water is not properly draining from the machine, here are some steps you can take to troubleshoot:
- Check for any clogs or obstructions in the drain hose or pump filter. Clear away any debris that may be blocking the flow of water.
- Ensure that the drain hose is properly connected and not kinked or bent, which can impede the drainage process.
- Inspect the drain pump for any signs of damage or malfunction. If necessary, clean or replace the drain pump to restore proper drainage.
- Verify that the sink or drain the washer is connected to is not clogged or blocked, as this can prevent the water from properly draining.
By addressing these common issues with your GE Washer Gfw450Ssm1Ww, you can troubleshoot and resolve potential problems that may occur. However, if you are unable to diagnose or fix the issue, it is recommended to seek professional assistance to ensure proper repair and maintenance of your washer.
Troubleshooting Steps
When it comes to troubleshooting your GE washer model GFW450SSM1WW, following a systematic approach can help identify and resolve any issues you may encounter. This article will guide you through the troubleshooting steps, covering common error codes, checking the power supply, and inspecting the drainage system.
Error Code Troubleshooting
If your GE washer displays an error code, it is an indication that something is amiss. By understanding the meaning behind the error code, you can take the appropriate steps to resolve the issue. Refer to the table below for common error codes and their potential causes:
| Error Code | Possible Cause |
|---|---|
| E1 | Water supply is inadequate |
| E2 | Drainage problem |
| E3 | Door not closed properly |
| E4 | Excessive foam detected |
| E5 | Unbalanced load |
If your washer displays an error code not listed here, refer to the user manual for specific troubleshooting steps or contact GE customer support.
Power Supply Check
If your GE washer is not turning on or responding, the first step is to check the power supply. Follow these steps:
- Ensure the washer is properly plugged into a functioning power outlet.
- Check the circuit breaker or fuse box to ensure power is reaching the outlet.
- If the power supply is working correctly, try unplugging the washer for a few minutes, then plug it back in. This can sometimes reset any electrical glitches.
If the washer still does not turn on after these steps, it may require professional assistance.
Drainage System Inspection
If your GE washer is not draining properly, it can lead to various issues such as lingering water, foul odors, or error codes. Follow these steps to inspect the drainage system:
- Start by checking the drain hose for any clogs or kinks. Ensure it is properly connected to the washer and the drain outlet.
- If the drain hose appears clear, check the drain pump filter. This can often accumulate debris and obstruct proper drainage. Refer to the user manual for instructions on how to locate and clean the filter.
- Inspect the drain pump itself for any obstructions or damage. If necessary, remove any debris or replace a faulty pump.
- Once you have checked and resolved any issues with the drainage system, run a test cycle to ensure the washer is draining properly.
By following these troubleshooting steps for your GE washer GFW450SSM1WW, you can identify and resolve common issues. However, if the problem persists or you encounter a different issue, it is recommended to consult the user manual or reach out to GE customer support for further assistance.
Preventive Maintenance
Regular maintenance is essential to keep your GE Washer Gfw450Ssm1Ww running smoothly and efficiently. By implementing a preventive maintenance routine, you can extend the lifespan of your washer, identify potential issues early on, and avoid costly repairs. In this section, we will discuss the various preventive maintenance tasks that you should perform on your GE Washer Gfw450Ssm1Ww.
Regular Cleaning
Regular cleaning is crucial to prevent dirt and debris from accumulating in your washer. Over time, detergent residue, lint, and other particles can build up, leading to unpleasant odors and decreased performance. To keep your GE Washer Gfw450Ssm1Ww clean, follow these steps:
- Start by running a hot water cycle without any laundry.
- Add a cup of white vinegar to the empty washer drum.
- Let the washer go through a complete wash cycle.
- After the cycle is complete, wipe down the drum, door seal, and detergent dispenser with a damp cloth. Pay special attention to any areas with visible residue or mold.
- Leave the washer door open to allow air circulation and prevent moisture buildup.
Checking Hoses
The hoses connected to your GE Washer Gfw450Ssm1Ww are vulnerable to wear and tear, which can result in leaks or water damage. Regularly inspect the hoses to ensure they are in good condition. Here’s what you should do:
- Turn off the water supply to the washer.
- Check the hoses for any cracks, bulges, or signs of wear. If you notice any damage, replace the hose immediately.
- Tighten the hose connections to ensure they are secure.
- If your washer has a drain hose, make sure it is properly aligned and not kinked.
Maintenance Schedule
Following a maintenance schedule will help you stay on top of preventive tasks for your GE Washer Gfw450Ssm1Ww. Here is a suggested maintenance schedule:
| Maintenance Task | Frequency |
|---|---|
| Cleaning the washer drum, door seal, and detergent dispenser | Monthly |
| Inspecting hoses for damage | Quarterly |
By following these preventive maintenance tips and sticking to a schedule, you can ensure that your GE Washer Gfw450Ssm1Ww continues to deliver optimal performance for years to come.

Credit: www.bigiron.com

Credit: m.youtube.com
Frequently Asked Questions Of Ge Washer Gfw450ssm1ww Troubleshooting
How To Fix A Leaking Ge Washer?
To fix a leaking GE washer, start by checking the hose connections for any leaks or loose connections. Inspect the door seal for cracks or damage. Clean the drain pump filter regularly to prevent clogs. If the issue persists, it’s recommended to call a professional technician for further troubleshooting.
Why Is My Ge Washer Not Spinning?
If your GE washer is not spinning, it could be due to a faulty lid switch, a worn-out drive belt, or an issue with the motor or motor control board. Make sure the lid is closing properly and try resetting the washer.
If the problem persists, it’s best to consult a qualified technician for a diagnosis and repair.
How To Reset A Ge Washer?
To reset a GE washer, disconnect the power cord from the electrical outlet for at least one minute. Plug it back in and press the “Power” or “Start” button to restart the washer. If the problem persists, refer to the manufacturer’s manual or contact GE customer support for further assistance.
Conclusion
To sum it up, troubleshooting your GE Washer Gfw450Ssm1Ww doesn’t have to be a daunting task. By following these simple steps and guidelines, you can easily identify and resolve common issues that may arise. Remember to always consult the user manual for specifics related to your model.
With a little patience and some basic understanding of your washer, you can keep it running smoothly for years to come. Happy troubleshooting!